Photograms
"a picture produced with photographic materials, such as light-sensitive paper, but without a camera."
Laszlo Moholy-Nagy
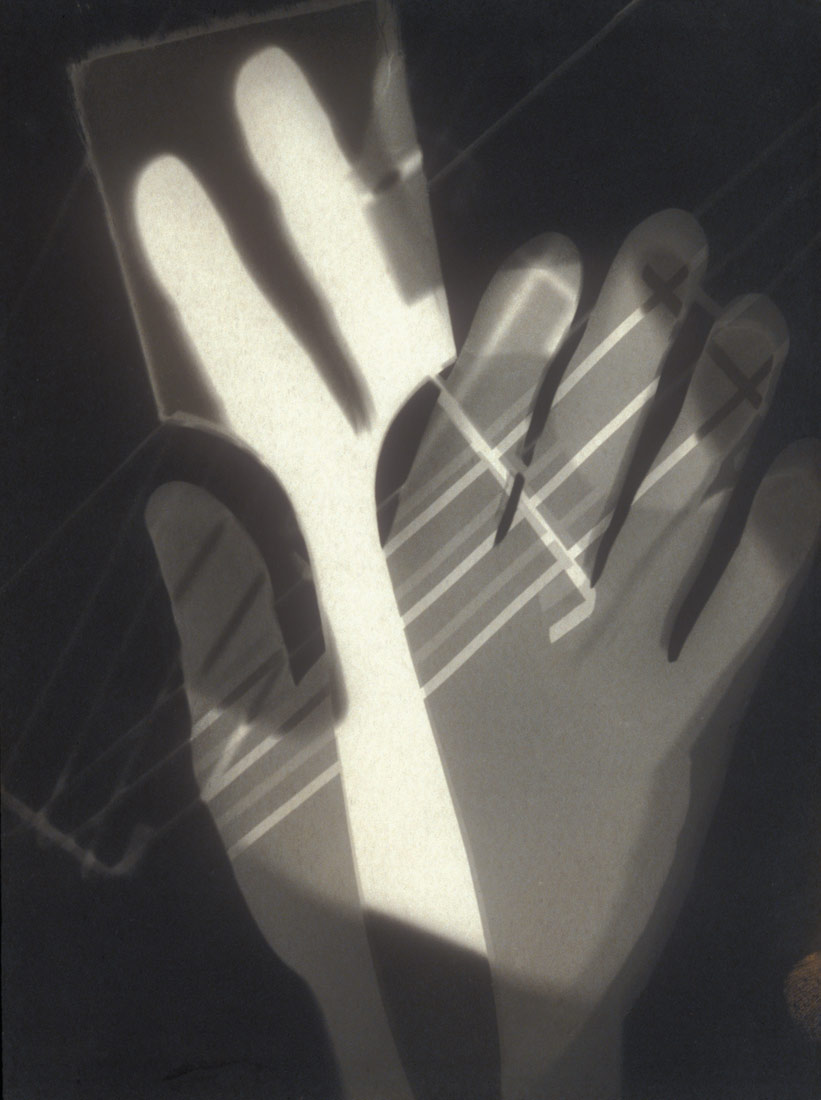
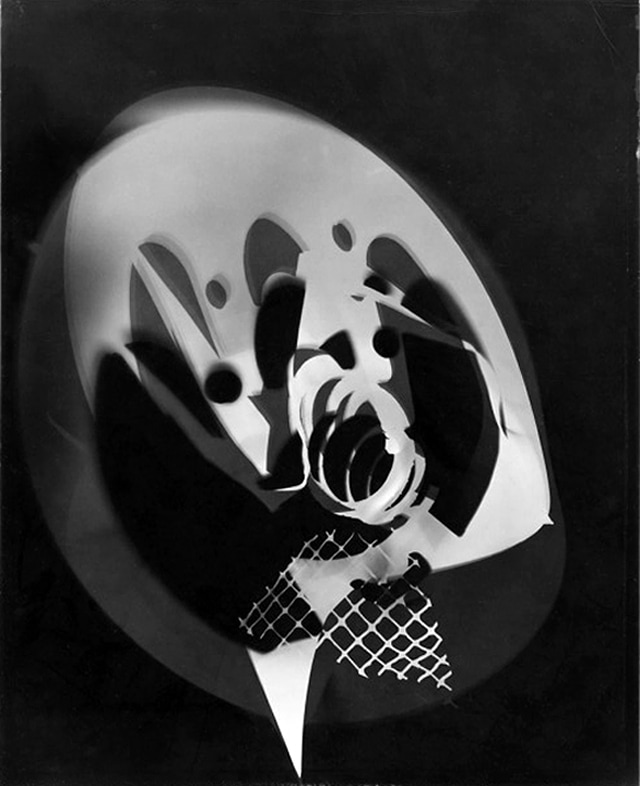
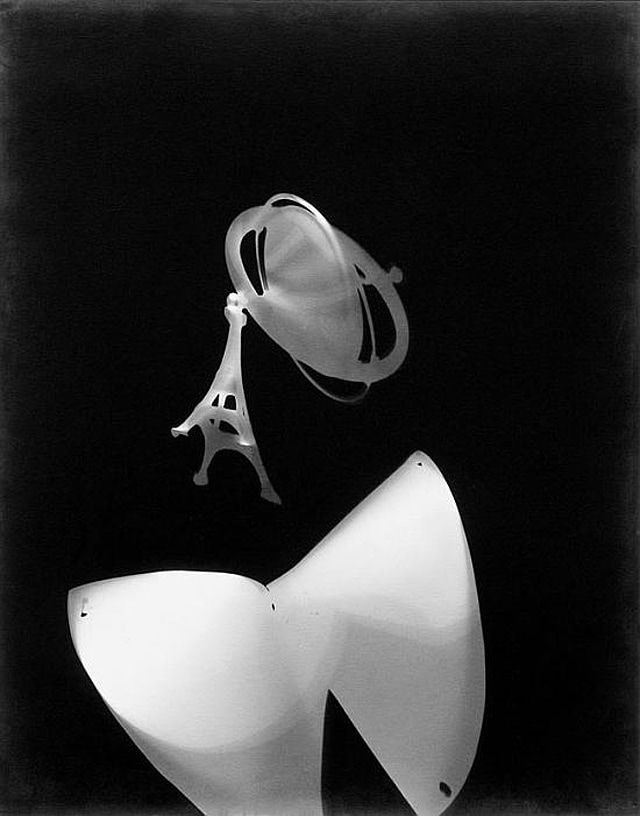
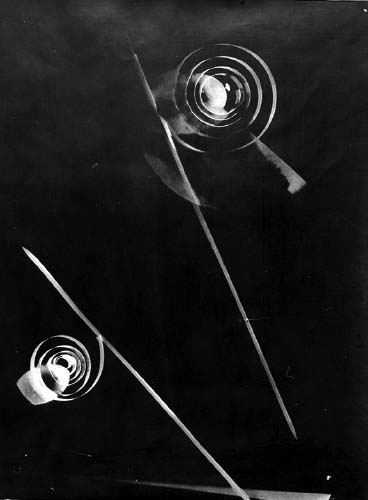
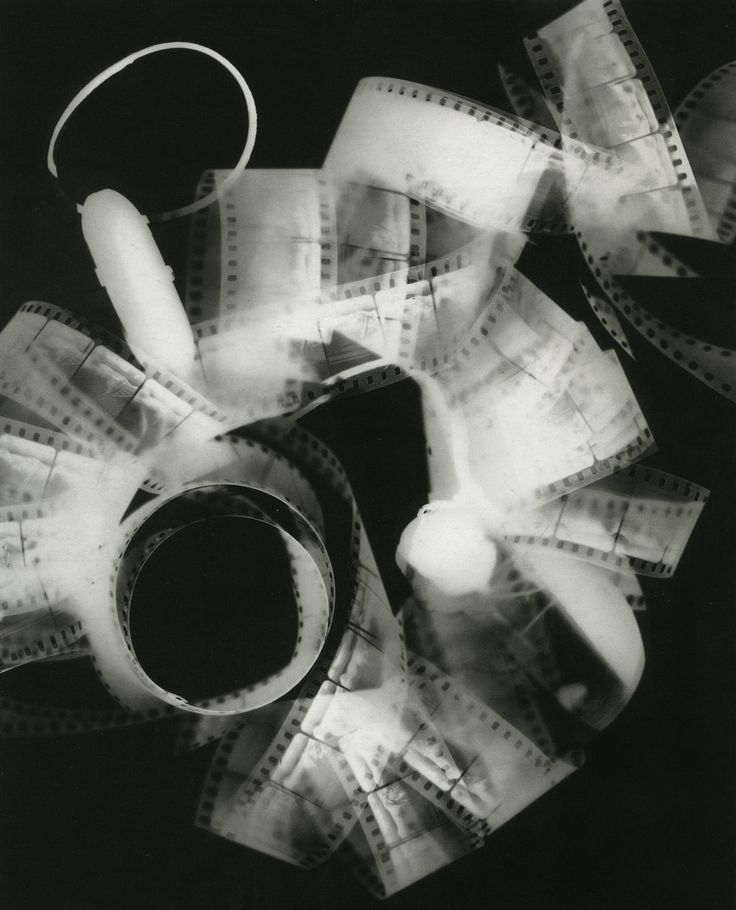
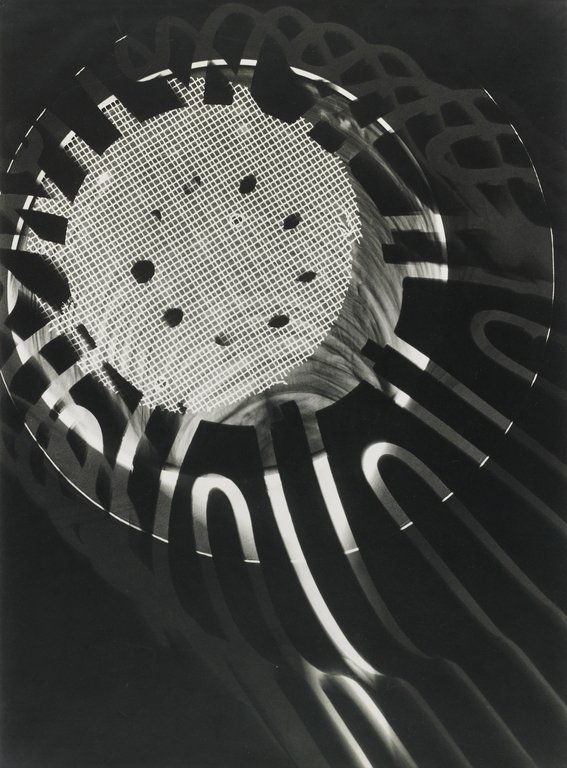
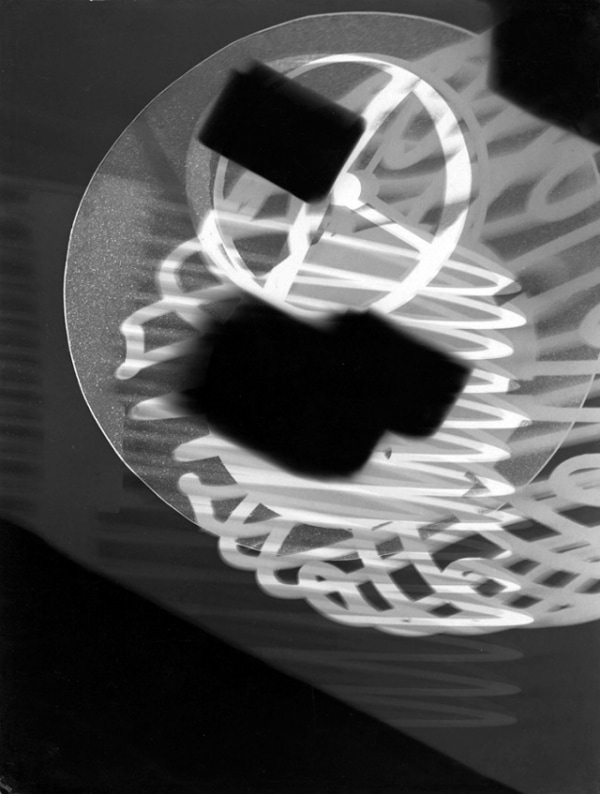
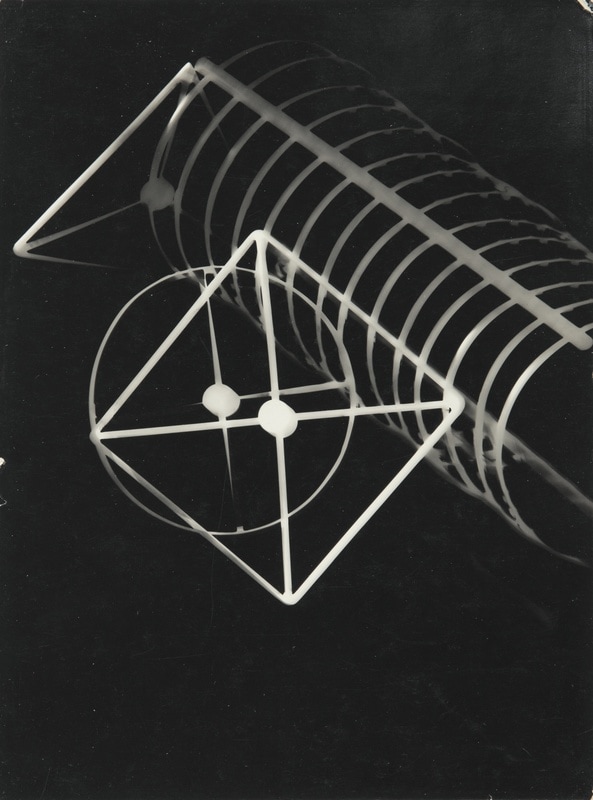
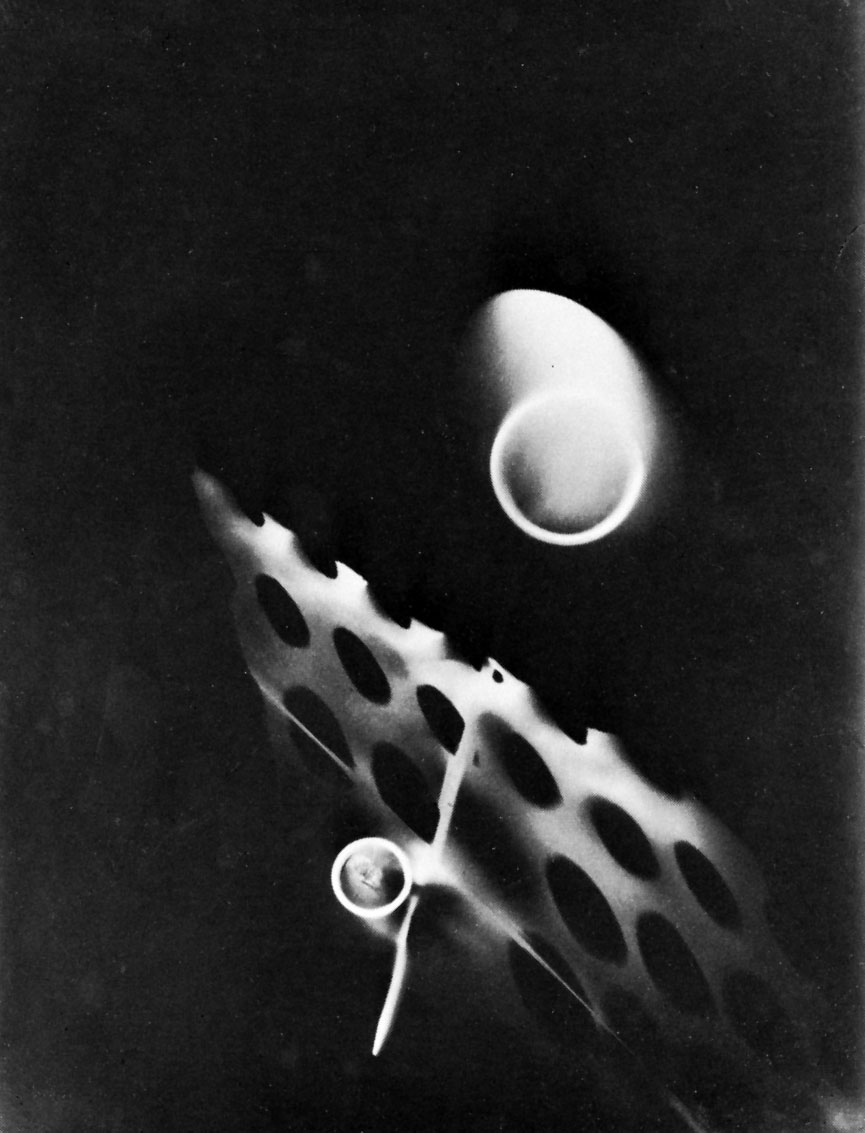
Lazlo Moholy-Nagy, a painter, sculptor, photographer, film-maker, designer, typographer, art theoretician, but also an architect of exhibitions, advertising man, stage designer, tireless teacher. His interest in photography encouraged his belief that artists and their understanding of vision had to specialise and modernise, artists used to be dependent on the tools of perspective drawing, but with the introduction of the camera they had to learn how to see again. His interest in qualities of space, time and light endured throughout his career and transcended the very different media he employed. Whether he was painting or creating photograms, or crafting sculptures made of transparent plexiglass, he was ultimately interested in studying how all these basic elements interact. Moholy-Nagy used two methods of production: the first consisted of placing the objects directly on a special photographic paper and exposing the whole thing to natural or artificial light: after a time the contours and shadows of the object left light surfaces on a dark background on the support. The second took place in a dark-room -where the evolution of the forms is no longer visible in real time- and the result could only be observed after developing and fixing the test.
My Response
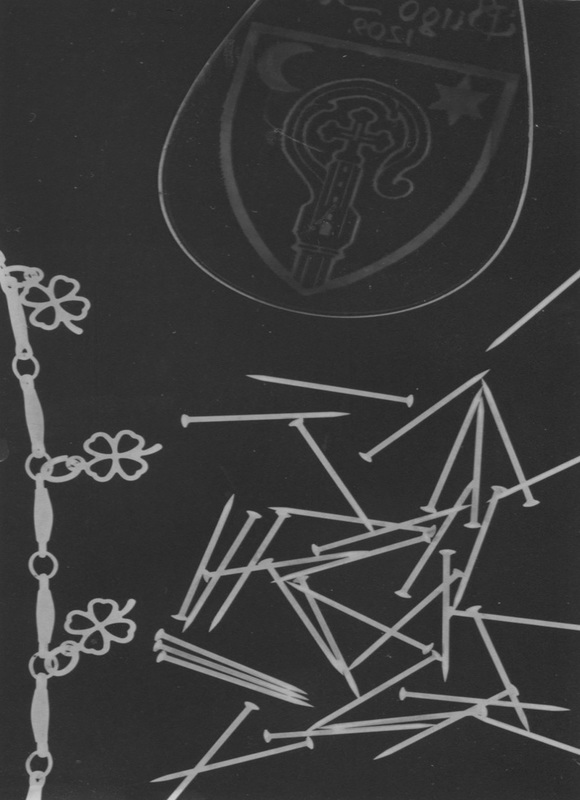

For this task, we used the dark room to create photograms. Doing so we had to check the settings of the enlarger before we started anything, and deciding the right settings. For the first test strip we chose a plastic keyring that was translucent, some small pins, and the charms of an anklet as I felt that it gave small details. The aperture f/2.8 and exposure time 1 second. For the first test strip it came out better than expected, the pins and charms showed really well, showing the smallest details of the items. Although the keyring would of needed more exposure time as it was more translucent that the other items, but the detail of the keyring showed up very faintly but still detailed.
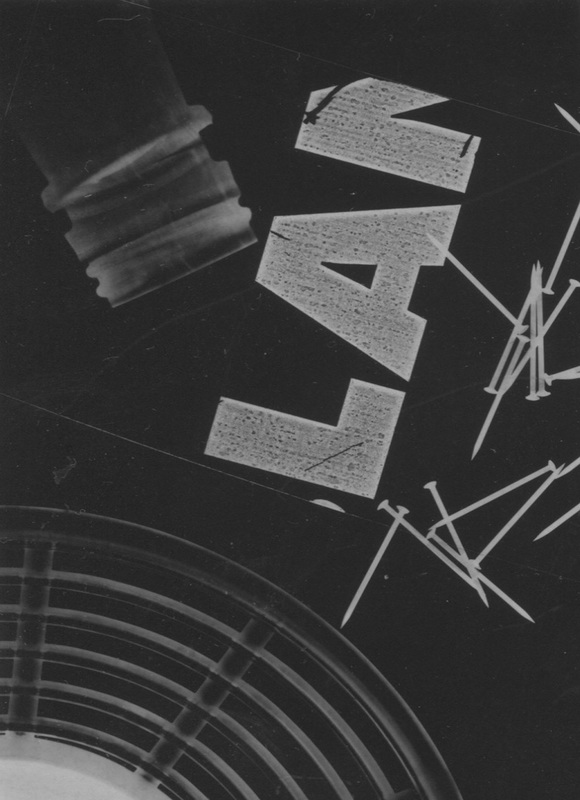
For the second test strip I chose some translucent items such as, plastic bottles, plastic circles etc, as it would have different variety of tones, giving the photogram more depth and detail. We also decided to use small pins, which would give the photogram more detail. We decided to make the aperture f/2.8 and exposure time 1.5 seconds for the second one, as the first photogram with the translucent items didn't appear as much as I wanted it to, which worked fine. Although doing this meant that the solid objects such as the pins would be over exposed.
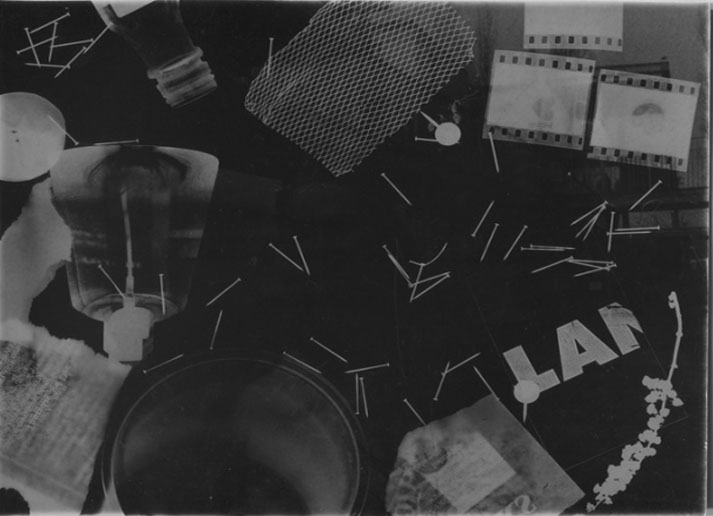
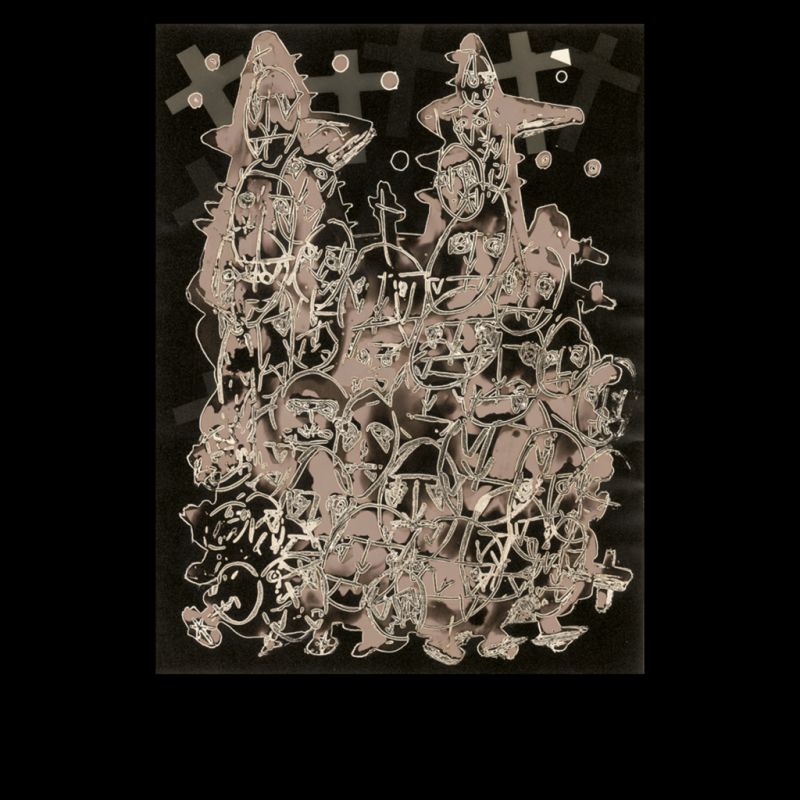
For the third photogram we were given bigger sheets of photo paper, given the task of creating a small collage on the photogram, for this I used a variety of materials such as, plastic, metals, glass, paper, also using negative film and parts of a plant, arranging them on the photo paper to create a collage. I decided to make the aperture f/2.8 and exposure time 1.5 seconds because I was using more translucent items which needed more exposure. Although, the result of this photogram wasn't as I expected, as it was very dark overall, the objects were very faint, as it needed more exposure time. but some objects in the image such as the images of the negatives appeared, and it was clear to what it was, which I liked about this photogram, but it was just too dark.
For the forth photogram I was given a negative to project a filter on my photo paper, acting as the background. For this I wanted to test how it would develop, I chose a translucent perfume bottle and a clip, just test it out. So i didn't really think about the organisation of the items on the photo paper. I decided to make the aperture f/2.8 and exposure time 2.5 seconds
For the fifth photogram I took a bigger piece of photo paper to create a collage, and gathered a variety of materials to use, such as metals, plastics, paper, and negatives. I mainly used translucent items because I wanted a variety of tones, and I was improving from my last photogram, by making the right adjustments. I decided to make the aperture f/2.8 and increase the exposure time to 2 seconds as my translucent items in the last photogram were still very faint meaning it needed more exposure time. For this photogram I projected a negative on the photo paper to act as a 'background', although it didn't show up very well, only on the top right corner. This photogram was successful and it had the right amount of light and dark, and the variety of tones from the translucent items. But the negatives had too much exposure so you couldn't see the images from them, I also liked the details of the small pins that were scattered, and the detail from the mesh. If I could improve this I would have removed the negative from the filter, as I thought it made the photogram darker.
For the second test strip I chose some translucent items such as, plastic bottles, plastic circles etc, as it would have different variety of tones, giving the photogram more depth and detail. We also decided to use small pins, which would give the photogram more detail. We decided to make the aperture f/2.8 and exposure time 1.5 seconds for the second one, as the first photogram with the translucent items didn't appear as much as I wanted it to, which worked fine. Although doing this meant that the solid objects such as the pins would be over exposed.
For the third photogram we were given bigger sheets of photo paper, given the task of creating a small collage on the photogram, for this I used a variety of materials such as, plastic, metals, glass, paper, also using negative film and parts of a plant, arranging them on the photo paper to create a collage. I decided to make the aperture f/2.8 and exposure time 1.5 seconds because I was using more translucent items which needed more exposure. Although, the result of this photogram wasn't as I expected, as it was very dark overall, the objects were very faint, as it needed more exposure time. but some objects in the image such as the images of the negatives appeared, and it was clear to what it was, which I liked about this photogram, but it was just too dark.
For the forth photogram I was given a negative to project a filter on my photo paper, acting as the background. For this I wanted to test how it would develop, I chose a translucent perfume bottle and a clip, just test it out. So i didn't really think about the organisation of the items on the photo paper. I decided to make the aperture f/2.8 and exposure time 2.5 seconds
For the fifth photogram I took a bigger piece of photo paper to create a collage, and gathered a variety of materials to use, such as metals, plastics, paper, and negatives. I mainly used translucent items because I wanted a variety of tones, and I was improving from my last photogram, by making the right adjustments. I decided to make the aperture f/2.8 and increase the exposure time to 2 seconds as my translucent items in the last photogram were still very faint meaning it needed more exposure time. For this photogram I projected a negative on the photo paper to act as a 'background', although it didn't show up very well, only on the top right corner. This photogram was successful and it had the right amount of light and dark, and the variety of tones from the translucent items. But the negatives had too much exposure so you couldn't see the images from them, I also liked the details of the small pins that were scattered, and the detail from the mesh. If I could improve this I would have removed the negative from the filter, as I thought it made the photogram darker.
Chemigrams
"is an experimental art where a photographic image made by painting on a light-sensitive paper"
Pierre Cordier
Pierre Cordier discovered chemigrams by writing a dedication with nail polish on photographic paper to a young German woman named Erika, Cordier later called it the chemigram. This combines the physics of painting (varnish, wax, oil) and the chemistry of photography (photosensitive emulsion, developer, fixer); without a camera, without an enlarger, and in full light. From some of the images below, I can see that he used techiniques such as scratching the surface, to give it a detailed effect, when other materials are applied such as varnish, oil, or paint.
1st Response
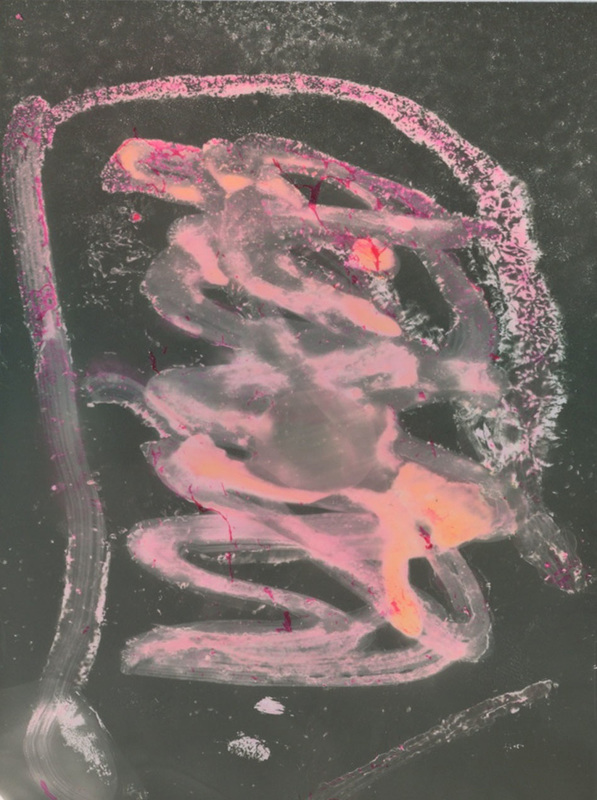
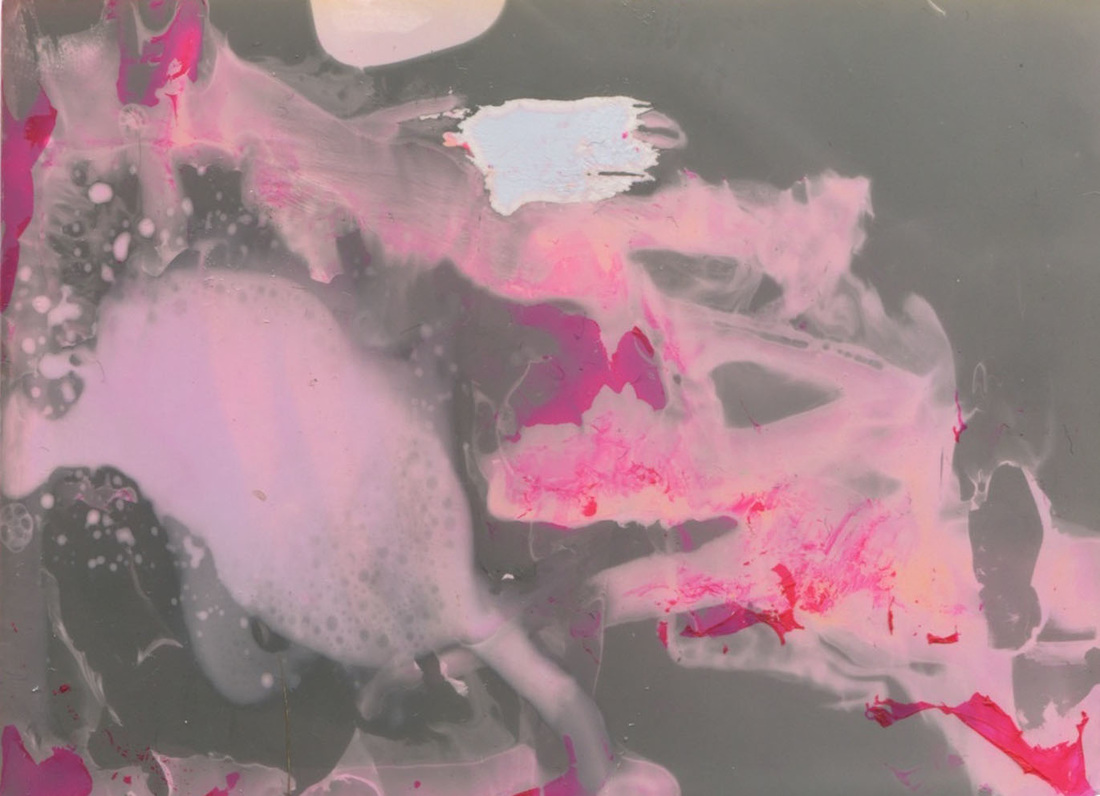
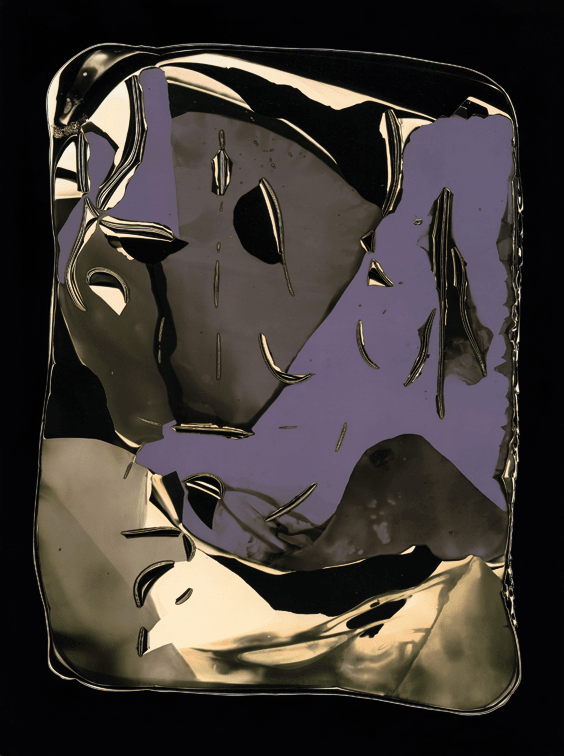
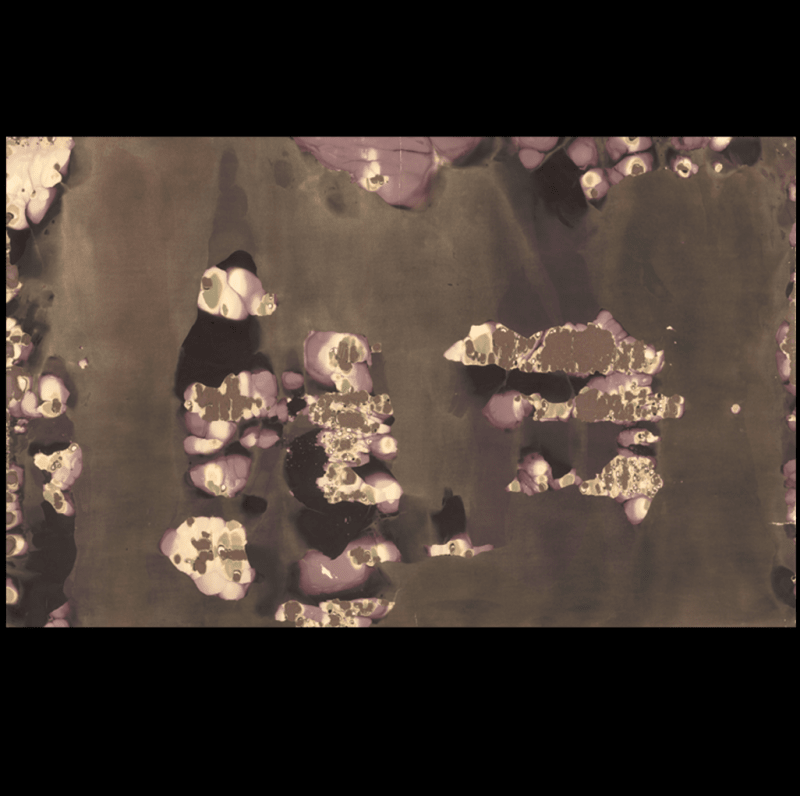
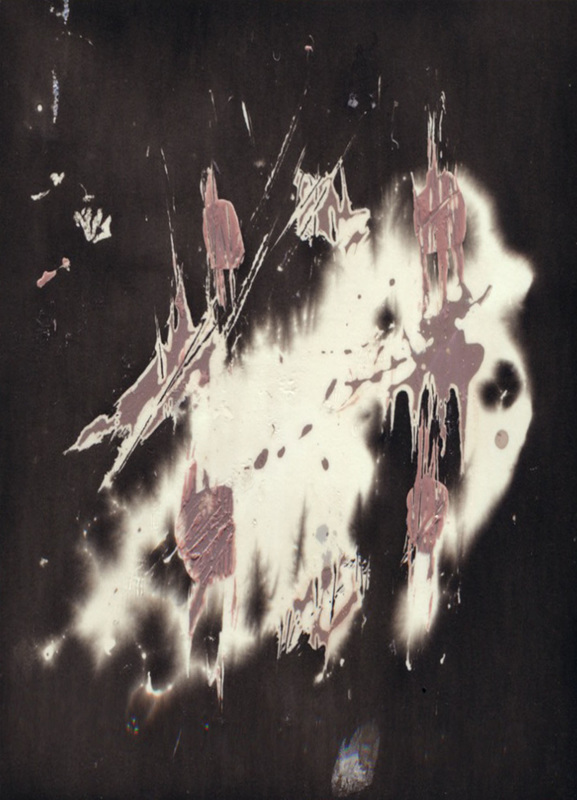
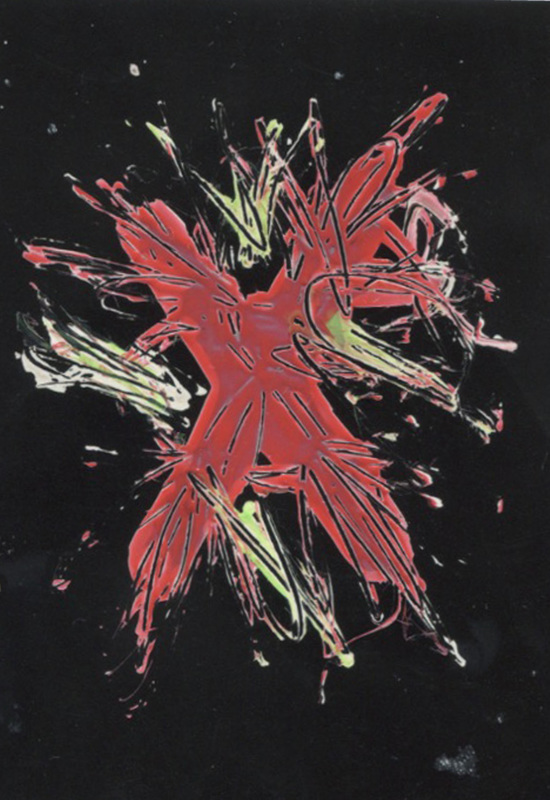
For this task we were given some chemicals and had to bring some in, they were a range from washing up liquid, deodorant, perfume, lip balm, ink, and surface cleaner. These chemicals reacted with the photopaper and the chemicals that were used to develop the chemigrams, creating something different for each one. I enjoyed using the ink as I liked the pinkish red effect it gave, it reacted well with the photopaper when it developed. I also mixed the different chemicals on the photo paper to create different effects. I found that the ink and the washing up liquid reacted the best. The deodorant gave it a dotted/splashed effect but it wasn't largely noticeable like the ink or washing up liquid, I think this because they had bleaching qualities in them, which made it more effective.
2nd Response
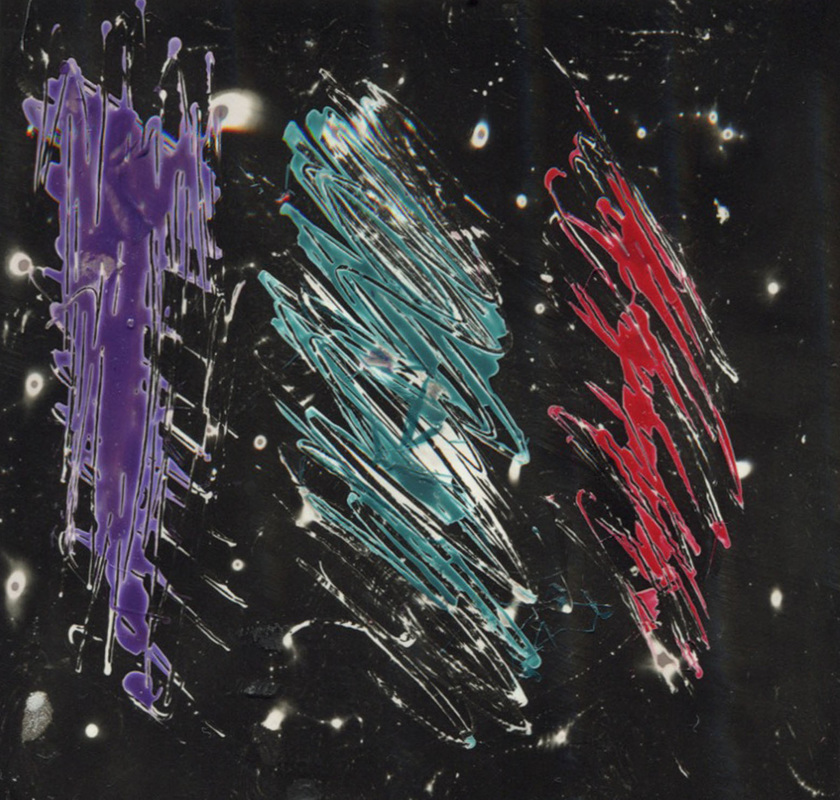
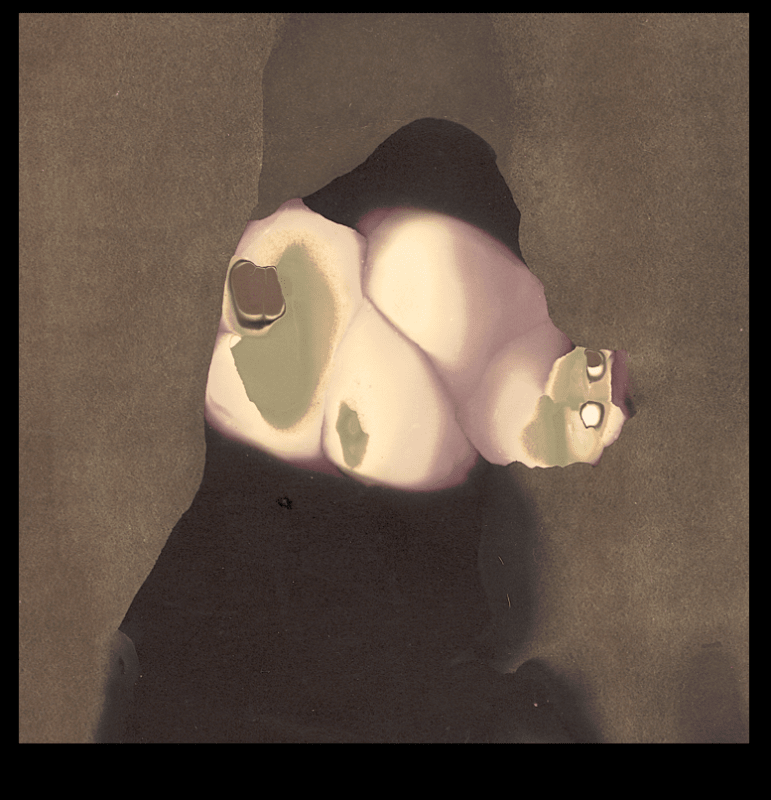
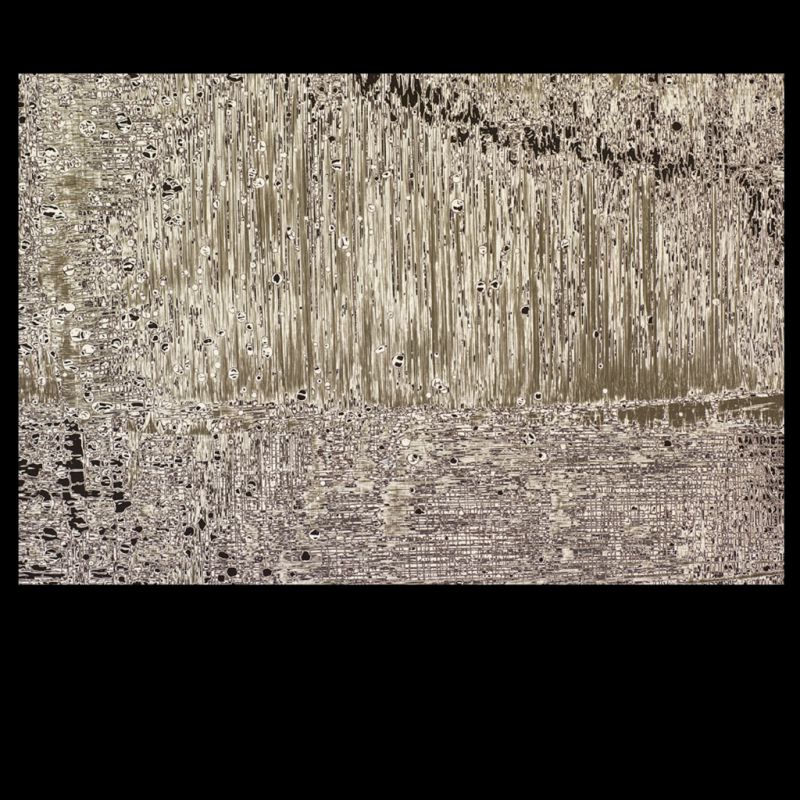
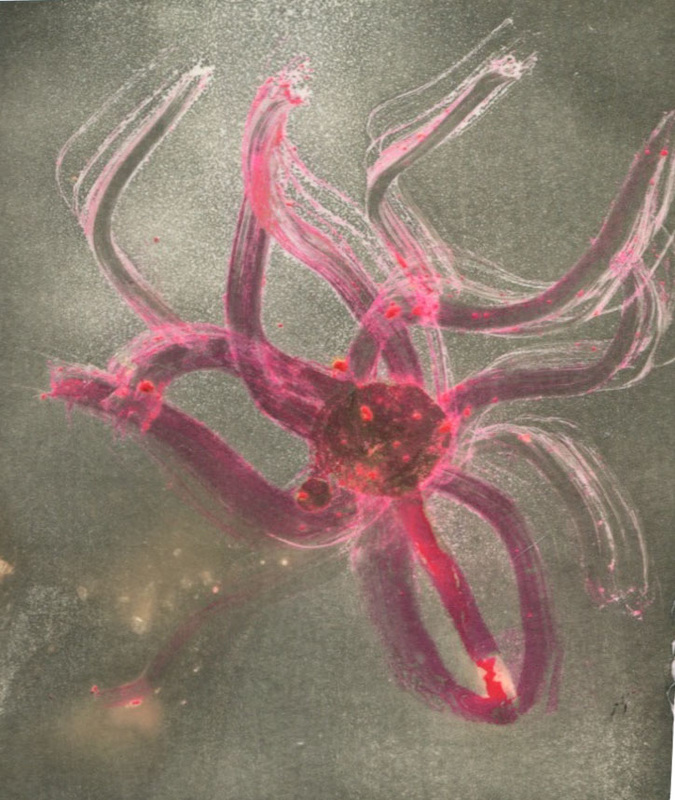
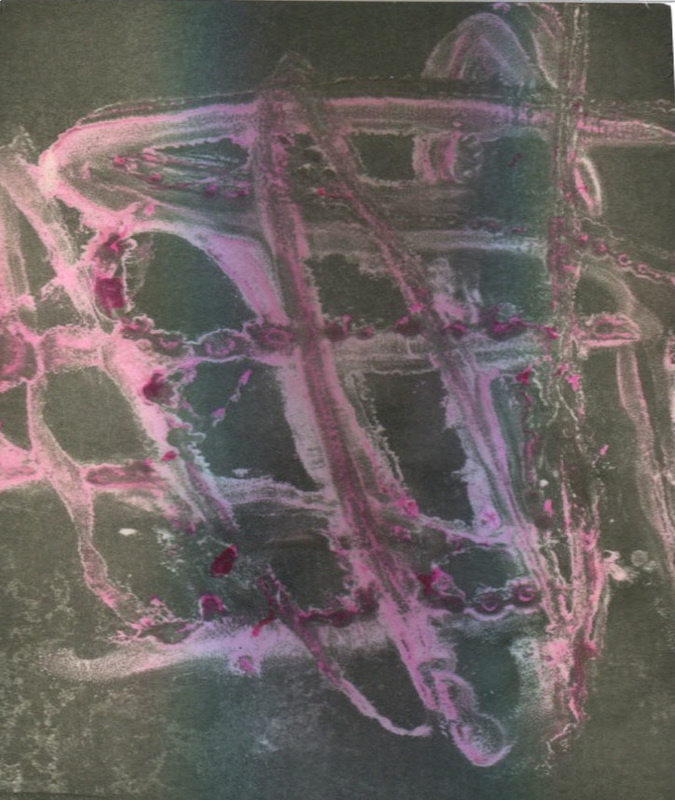
For this task the materials and items I used were: nail varnish, baby oil, nail varnish remover, tiger balm, and lip balm. I found that the baby oil reacted really well with the photo paper, I used a cotton bud and a straw to blow the oil around, to give it a better effect. The nail varnish remover didn't work so well, as the liquid would dry up on the surface too quickly, so it didn't have enough time to react. For the nail varnish I used a toothpick to scratch the surface, which created faint lines that had little bits of colour from the nail varnish. Although materials such as the lip balms or some nail varnishes, if too thick then the chemicals would have left it still quite sticky. I found that some of my chemigrams still had a stickily residue, but some had dried completely. I think my photo paper was often too exposed to the surrounding light when I was adding the different chemicals, which impacted how it would develop in the developer, making the chemigram having a really dark background overall.
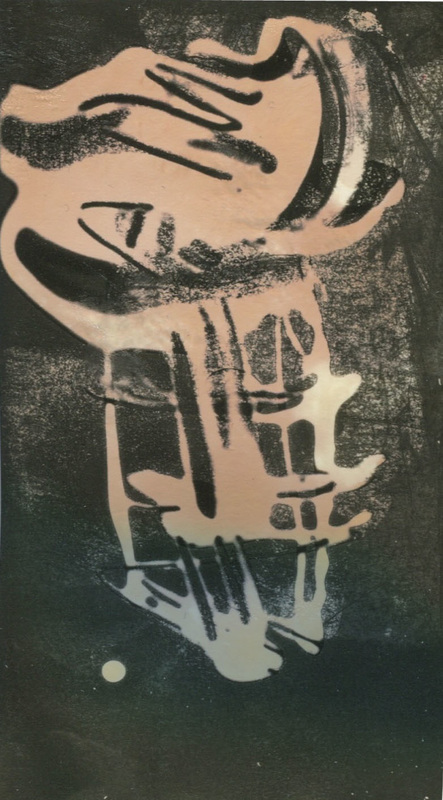
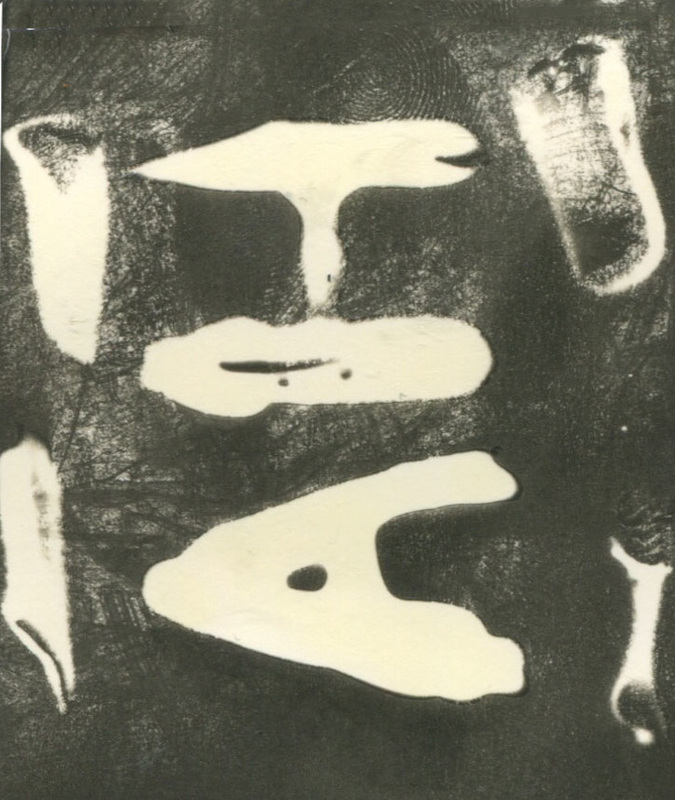
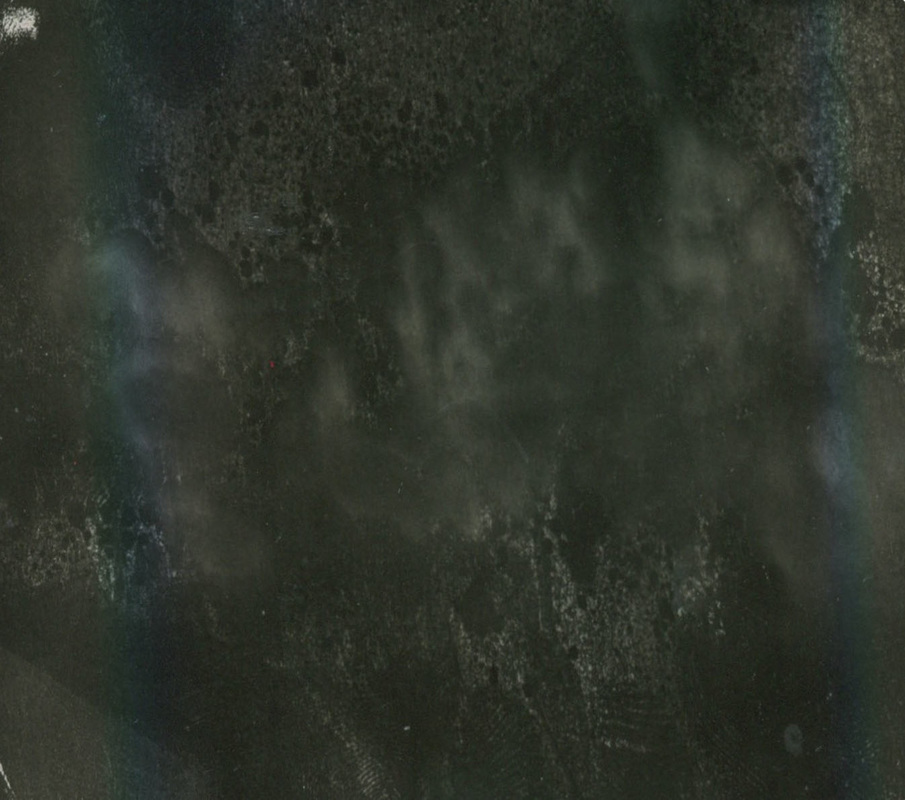
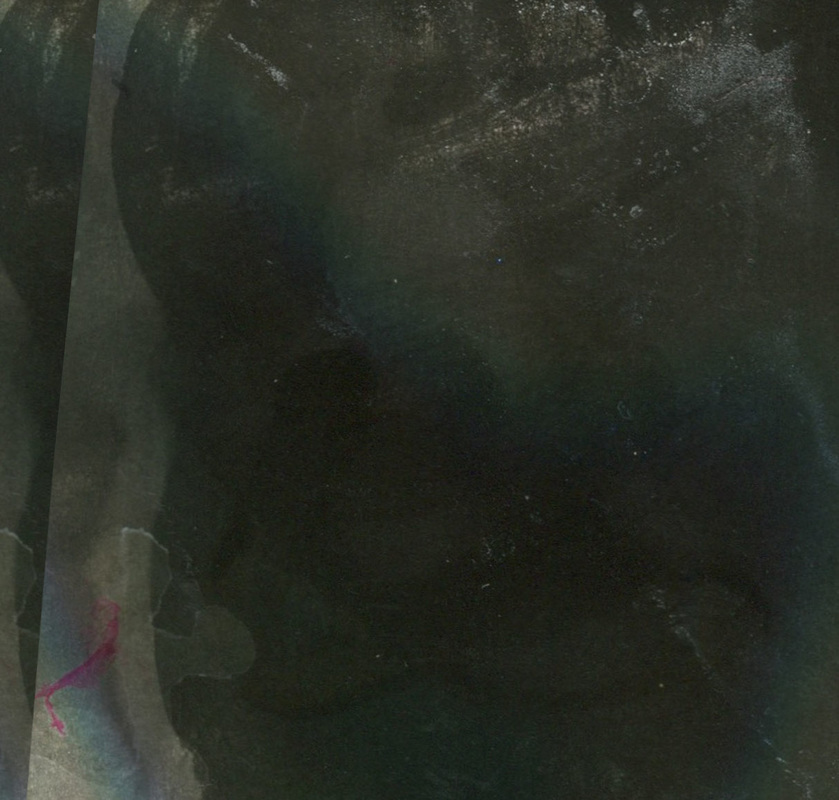
Experiments in the darkroom
|
|
|
|

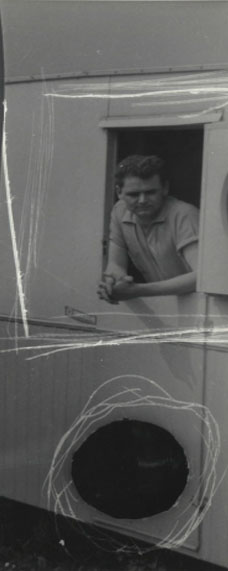
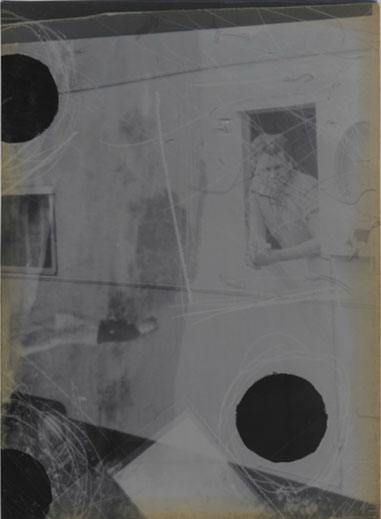
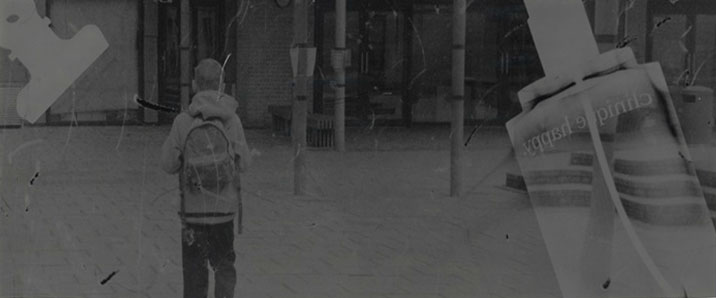
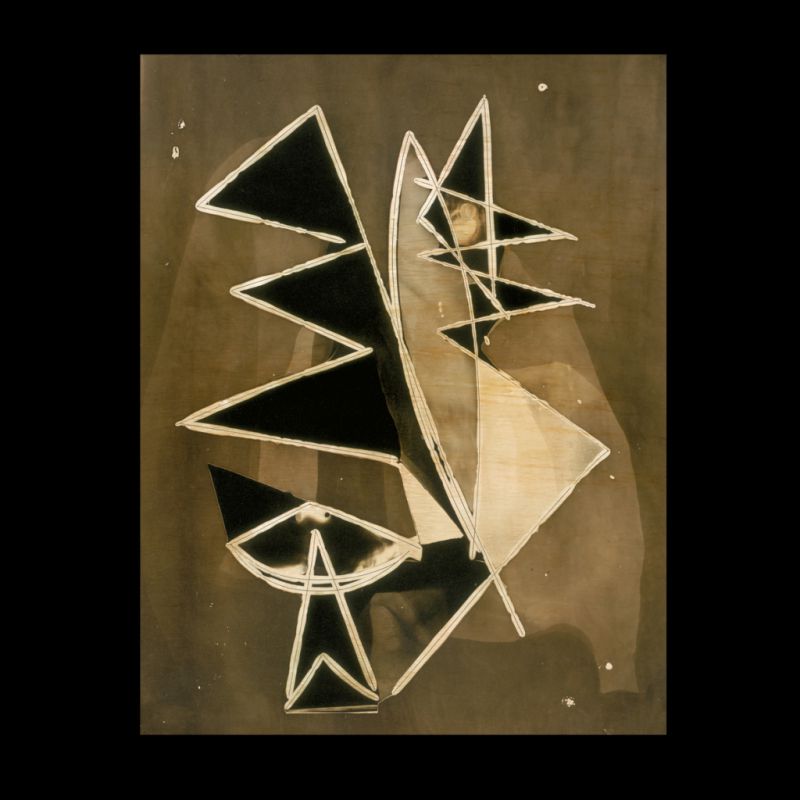
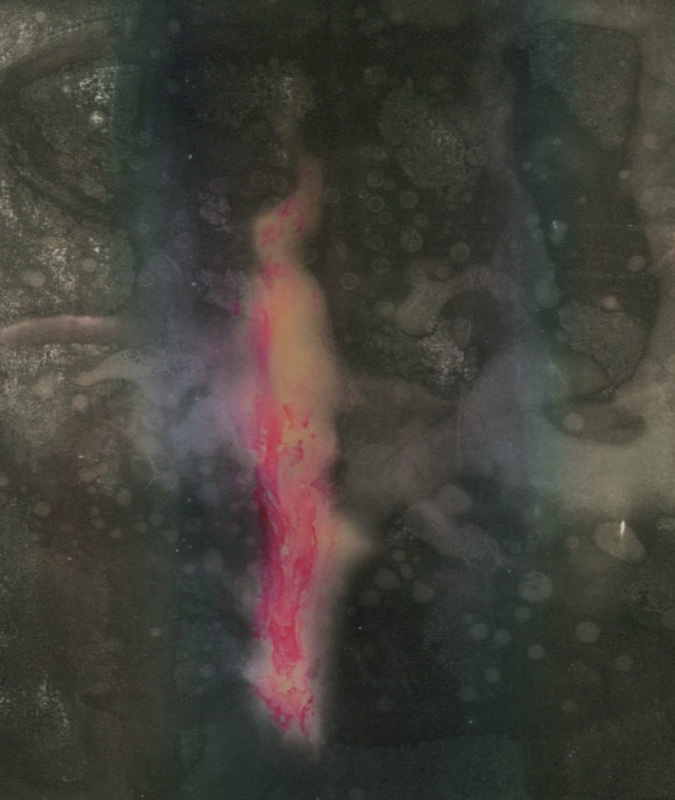
For this task we were given a strip of negatives that were tasked to 'destroy' them in different ways, such as, scratching, cutting, punching holes, using a pen. We were given a light box to help with the process. We then projected the negatives on photo paper. For my first photogram, I set it for 5 secs and f/2.8, this photogram came out really dark, the image itself didnt project very well, but the scratches did, meaning I had to let less light in. For the second photogram I set it for 5 secs and f/4, which came out much better than I expected. It projected the image from the negative enough to make the photogram look like an actual image, from the smallest details, such as the facial features, and shadows. The scratches also showed up very well. For my third photogram I decided to use layer two negatives. I set it as the same for the last photogram; 5 secs and f/4, although for this photogram it was over-exposed as the two negatives didn't work together because of the lighting of the originals, also I thought it had too much going on which didn't work.
